Grow Your Own
Delicious Mushrooms
It is Easy, It is Fun
The Mushroom Lifecycle
Fungi are a diverse group of organisms that play vital roles in ecosystems, serving as decomposers, symbiotic partners, and even sources of food and medicine for humans.
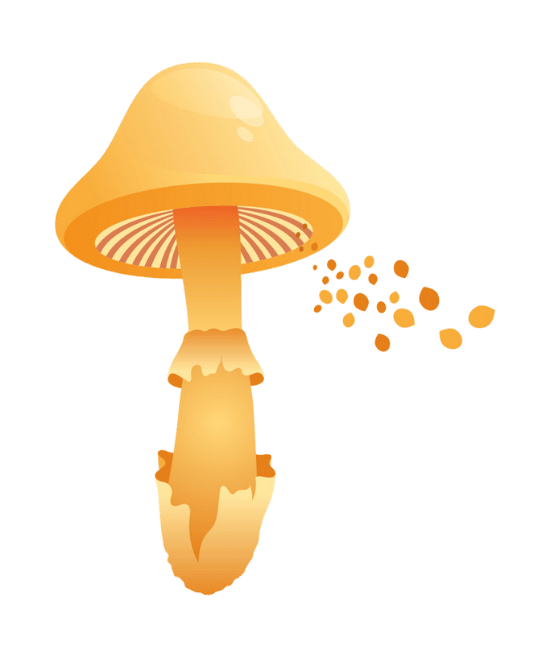
Spore Germination: The mushroom lifecycle begins with the germination of spores. These spores are tiny reproductive cells released from the mature gills or pores of a mushroom. When conditions are favorable, spores land on suitable substrates, such as decaying organic matter or soil.
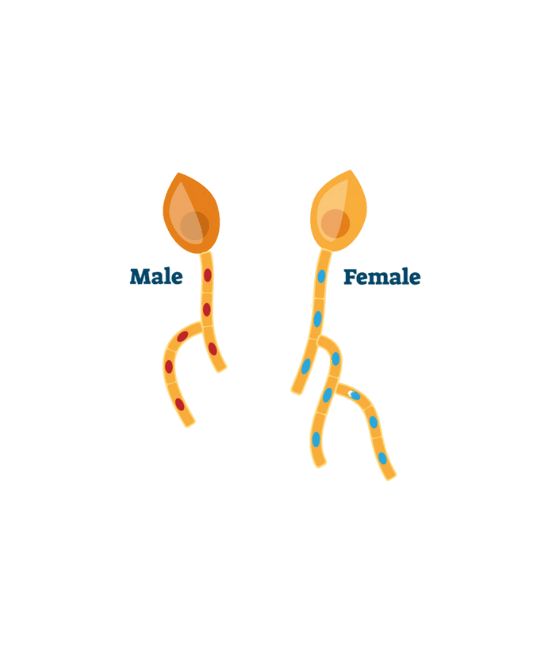
Hyphae Development: Upon landing on a suitable substrate, the spores germinate and produce thread-like structures called hyphae. Hyphae extend and branch out, forming a network known as mycelium. Mycelium acts as the vegetative part of the fungus and serves as a nutrient-absorbing network.

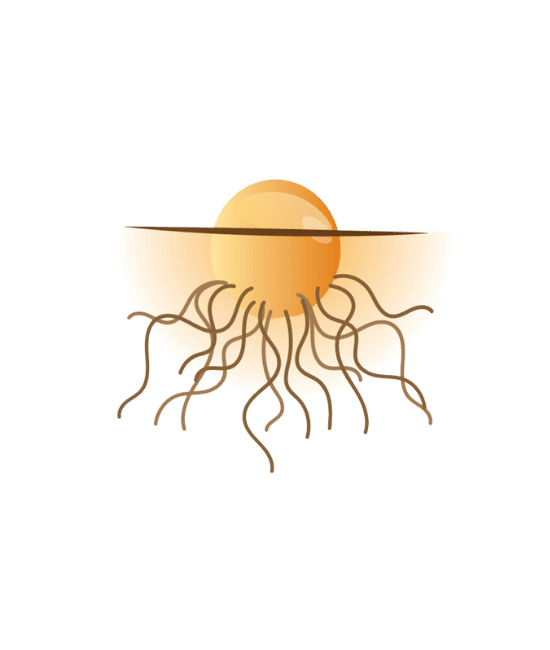
Mycelium Growth: The mycelium continues to grow, branching and spreading through the substrate. As it expands, it secretes enzymes that break down organic matter, allowing the mycelium to absorb nutrients for growth.
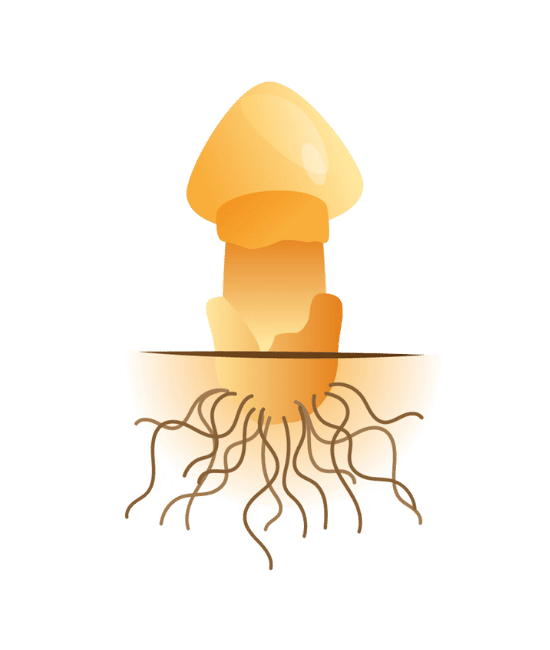
Mycelium Growth: The mycelium continues to grow, branching and spreading through the substrate. As it expands, it secretes enzymes that break down organic matter, allowing the mycelium to absorb nutrients for growth.

Spore Release: As the mushroom matures, it develops structures for spore production. In gilled mushrooms, spores are produced on the gills beneath the cap. In pore-bearing mushrooms, the spores develop in small openings on the underside of the cap. When mature, the mushroom releases millions of spores into the surrounding environment, typically aided by wind or other external factors.
Experience the cycle for yourself!
We have kits for many strains. Come in, get started and Discover the Magic!
Harvest Guide
Oyster Mushroom Harvest Guide

Too Early!
Notice that the caps are still small and the edges are very rounded still.

Good to Harvest!
Notice the caps are large and the edges are starting to flatten out but are still rounded.
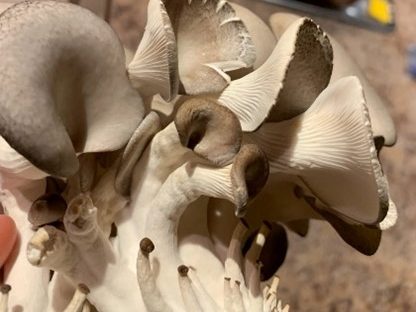
Too Late!
Notice the caps have flattened out and are drying out. They’re still okay to eat!
Lion's Mane Mushroom Harvest Guide
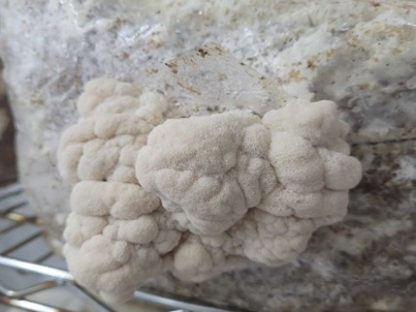
Too Early!
Notice that the fruit body is still very small likely only 5-6 inches. long
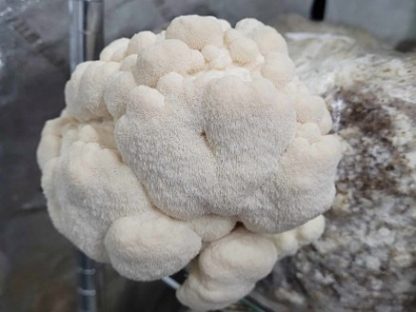
Good to Harvest!
Notice the size is about the size of an open hand or bigger and hasn’t started to brown yet.
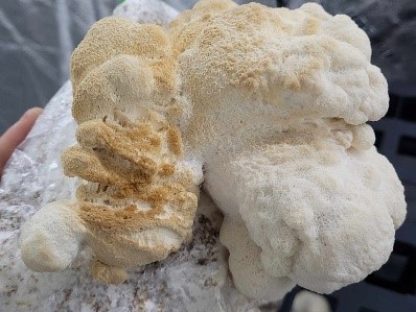
Too Late!
Notice the browning. If the size is close to the size of your hand and it is browning it is over mature but still good to eat. If it is still very small and browning it could be bacteria blotch from misting or standing water on the fruit body.
Lion's Mane Mushroom Harvest Guide
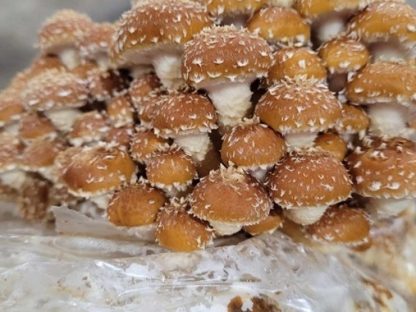
Too Early!
Notice that the caps are still small and the edges are very rounded still.
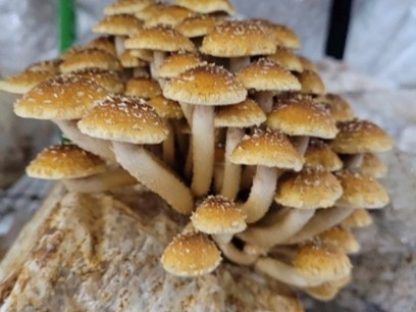
Good to Harvest!
Notice the caps are large and the edges are starting to flatten out but are still rounded.
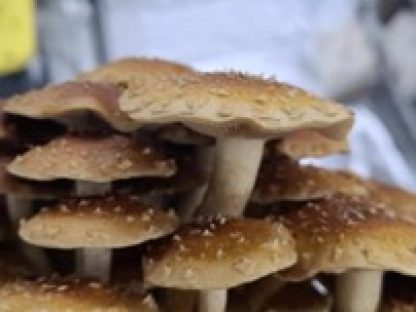
Too Late!
Notice the caps have flattened out and are drying out. They’re still okay to eat!
Grow Kit
Frequently Asked Questions!
This is normal. Once the mycelium has covered the entirety of the fruiting block the mushrooms want to fruit. Cutting the plastic gives them an influx of oxygen to fruit toward but some of the pins are just a bit too eager! You can cut the plastic above the baby mushroom for it to flourish.
Mushrooms should be harvested before the caps flatten out and release their spores! Mushrooms grow very quickly so it is important to keep an eye on them every day looking for the ideal time to harvest. If you wait too long and the caps do flatten out (see photos below for reference). Do not worry! The caps are still edible, but they may just not stay fresh for as long. If they look mouldy or dry, they were probably left too long. Lion’s Mane should be harvested before it turns yellow and mushy. Since they do not have caps, you can gauge when to harvest them by the length of their teeth. When the teeth are about 1/4 inch long or it starts to brown, it is time to harvest.
No! The kit is ready for growth once you remove the cut-out and slice an X in the bag. However, You may want to remove the bag from the box to do the soaking method mentioned under Step 4 on the grow kit page for best results.
Typically, a grow kit will fruit mushrooms two to three times (less amount every harvest). To ensure another harvest, remove the mushrooms and any left-over pieces from the hole so the substrate is exposed again. Make sure to soak the substrate in a bowl of cold water for 3-6 hours after harvesting. This ensures the substrate has enough water to support more mushroom growth. Once soaked, drain excess water and start your misting schedule again.
Be patient sometimes the mycelium takes time to fruit. However, there are a few factors that may prevent your mushrooms from fruiting. It may be too warm in your house, so placing the box in the fridge for a day can help initiate pins or just find a cooler area of the house. It may be too dry, if you have not done the soaking method mentioned in Step 4 on the grow kit page then try that first. You can also try increasing your misting.If after 4 weeks and still no sign of growth, message us and we will send you another kit for free. If using a Chestnut kit, wait up to 2 months before contacting us.
